Your Cart is Empty
Free Shipping On All Orders In February - No Coupon Code Necessary
Free Shipping On All Orders In February - No Coupon Code Necessary
Free Shipping On All Orders In February - No Coupon Code Necessary
Free Shipping On All Orders In February - No Coupon Code Necessary

September 11, 2017 2 min read
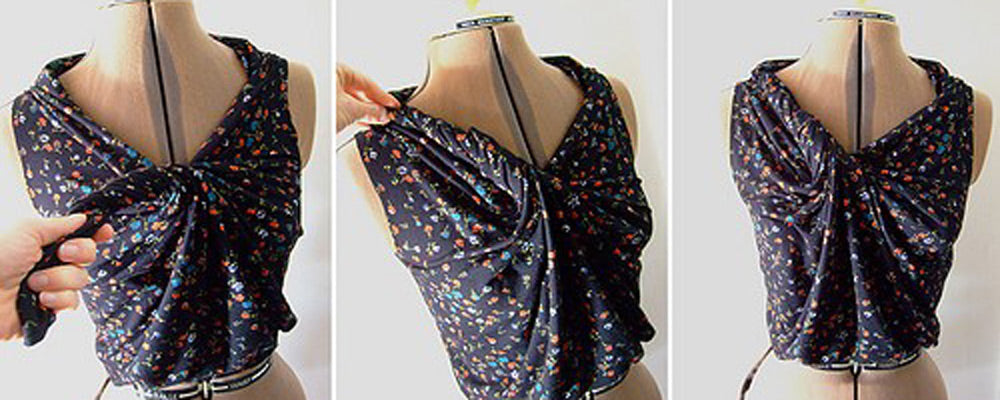
Draping is a technique that fashion designers use when they design and sew garments. It involves draping fabric around a dress form and then pinning it to get the desired shape. So if you are new in this branch, then we are here to show you seven basic steps that you need to do when you want to drape on a dress form.
Before you begin, make sure all the measurements are accurate. Use a tape to mark the center line of the dress form. This mark helps you to keep your draping even across the body. In case you already know what lines you want to add to your garment, you can add them with tape, so you make draping an easier task.
When you get to use the dress form,you should already have a design idea in your mind. To know how to manipulate the fabric, you are recommended to use a sketch or a photo. If you are an experienced designer, then you can also play with the fabric and use its behavior as the basis of your design, but if you are a beginner, this could be a little frustrating to do.
You definitely don’t want to waste good fabric, so you are recommended to start with fitting muslin. However, you should keep in mind that various types and weights of fabric have different behaviors when they are draped. To avoid any issues, you need to choose a muslin weight that is similar to that of the fabric you want to use.
Some fabric types require a foundation piece of some sort to support their weight. In case your fabric is very sturdy, you can skip this step. If you use a sheer fabric, choose a fabric that is close to your skin tone or that matches the main fabric. Fit the foundation piece to the dress form.If you already know what details you want to include in your design, make sure your foundation piece reflects them.
Get enough fabric to cover the area, as it is always easier to cut off the extra fabric. Draping is better to be done in sections: front bodice, back bodice, front skirt, and back skirt. Start from the spot where the folds are most predominant. Now it is a good time to use your sketch or photo. Use chalk to mark any additional darts or seam lines.
When you’re satisfied with the result of the draping, use a contrasting thread to baste the fabric to the foundation piece. Make sure you don’t miss any folds. This allows you to remove the pins easily, so you don’t need to undo all of your work.