
Your Cart is Empty
Free Shipping On All Orders In July - No Coupon Code Necessary
Free Shipping On All Orders In July - No Coupon Code Necessary
Free Shipping On All Orders In July - No Coupon Code Necessary
Free Shipping On All Orders In July - No Coupon Code Necessary

July 24, 2017 3 min read
You probably know that a dress form is a must have for any fashion designer. However, unfortunately, not everyone can afford one. Or, you may not yet have the necessary space for it. Anyway, in case you don’t have a dress form, you need to find a good alternative to use for fitting your garment. So we decided to help you, by showing you seven quick steps to an easy solo fitting. By the end of this article, we hope you’ll be able to get a perfect fit of your clothes, even without a dress form to use in your project.
First of all, let’s make sure we all understand what solo fitting refers to. You are alone, and you don’t have any friends who can help you with fitting when you create your garments. Now, let’s go on with the tips.
Imagine you create tops with an opening in the back. In this case, you need to put the opening in the front for muslin fitting. However, you’ll only do this for fitting purposes. This enables you to pin it closed without needing any assistance when you try on your clothes. Use a machine basting stitch to mark the stitching line in the opening, to know where you need to pin it. Although this might seem like a little thing to do, it helps when you fit your own body.
Also only for your muslin, you need to make the seam allowance for the opening of 1” wide. This is helpful to do, as it is easier to overlap and pin closed a seam allowance with the width of 1”, rather than one with a 5/8” or smaller.
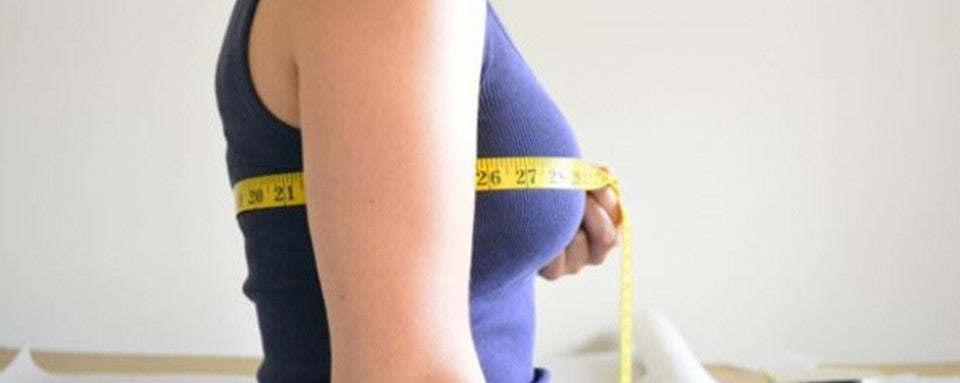
Use a tracing wheel and tracing paper, or any other tool you prefer, to mark your bust, waist and hip line. Make sure you mark on the right side of your muslin, to see the markings when you try on your clothes. This helps you to easily observe whether the lines are in the right place on your body. If you need to change them, you can mark the right positioning on the muslin and then easily measures the distance between the two marks.
Using only one mirror won’t help you too much. So you’d rather use a hand held mirror and stand with your back to a mirror to get an accurate and close-up view of how your neck, shoulders and back fit. to obtain an accurate view, try to keep your arm attached to the hand holding the mirror as close to your body as possible. To get a full back view of your clothes, use a hand held mirror and a full-length mirror.
If you create garments that need zipper closures, put them in your muslin. Even if the application is not perfect, or it isn’t the same required by your pattern, this is helpful to do. You don’t even need to worry about how neat the stitching is, so just quickly machine baste down each side of the zipper, as it is only for fitting purposes. This step is truly helpful for skirts, as they usually have their opening on the side or in the back, so pinning it closed is quite difficult in solo fitting.
This step is required to do for sleeves, skirt, pants and dress hems. Mark your hemline on the muslin fabric, then cut on the line. This way, your muslin will end at the finished length, so you can save your time of turning, pressing and stitching in your hem, while you’ll still know whether your clothes are too long, too short, or the correct length.
It is always a good choice to keep a record of all the changes you made to the muslin and patterns, as you never know when you’re going to need to see the previous changes. This is especially helpful if a longer time passes between fittings, as you’ll be easily able to pick up where you left off.
Words in the end
We hope that you will find these seven steps to be helpful for your projects. So, until you get the chance to get your dress form, you can simply follow these quick steps and get an easy solo fitting.